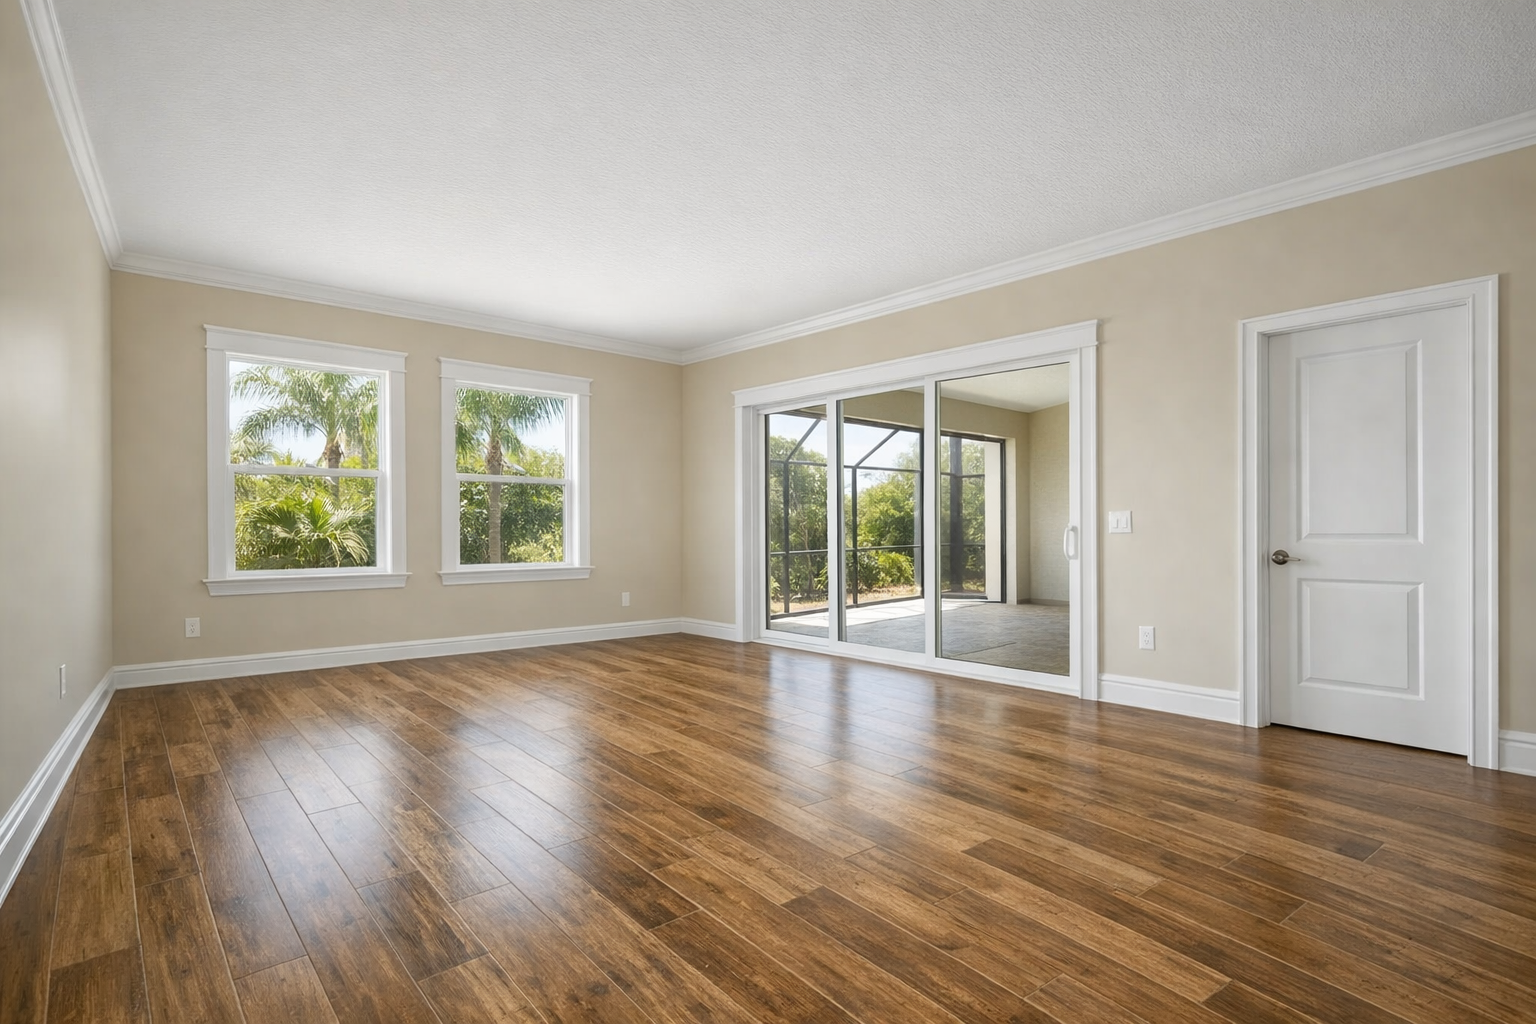
If you're planning trim installation in Laurel, FL, the goal is usually simple: cleaner lines, better transitions, and rooms that feel properly finished. Professional trim work helps define where floors meet walls, where walls meet ceilings, and where doors and windows need a crisp frame instead of a rough edge.
Trim installation can mean adding new trim where a room feels plain, replacing worn or damaged pieces, or matching an existing profile so the new work blends with the rest of the home. Baseboards cover the floor-to-wall joint, crown molding finishes the ceiling line, door and window casing frames openings, shoe molding tightens the edge near flooring, and decorative molding can add more detail to selected walls or rooms.
Hiring a professional keeps the focus on fit and finish rather than trial-and-error cutting. Good finish carpentry in Laurel FL should leave tight joints, clean corners, smooth caulk lines, secure fastening, and surfaces that are ready for paint or stain. The right approach depends on the room, the current trim, the home's style, and the finish you want, so the service starts with understanding what should be installed, replaced, or matched.
What Trim Installation Includes
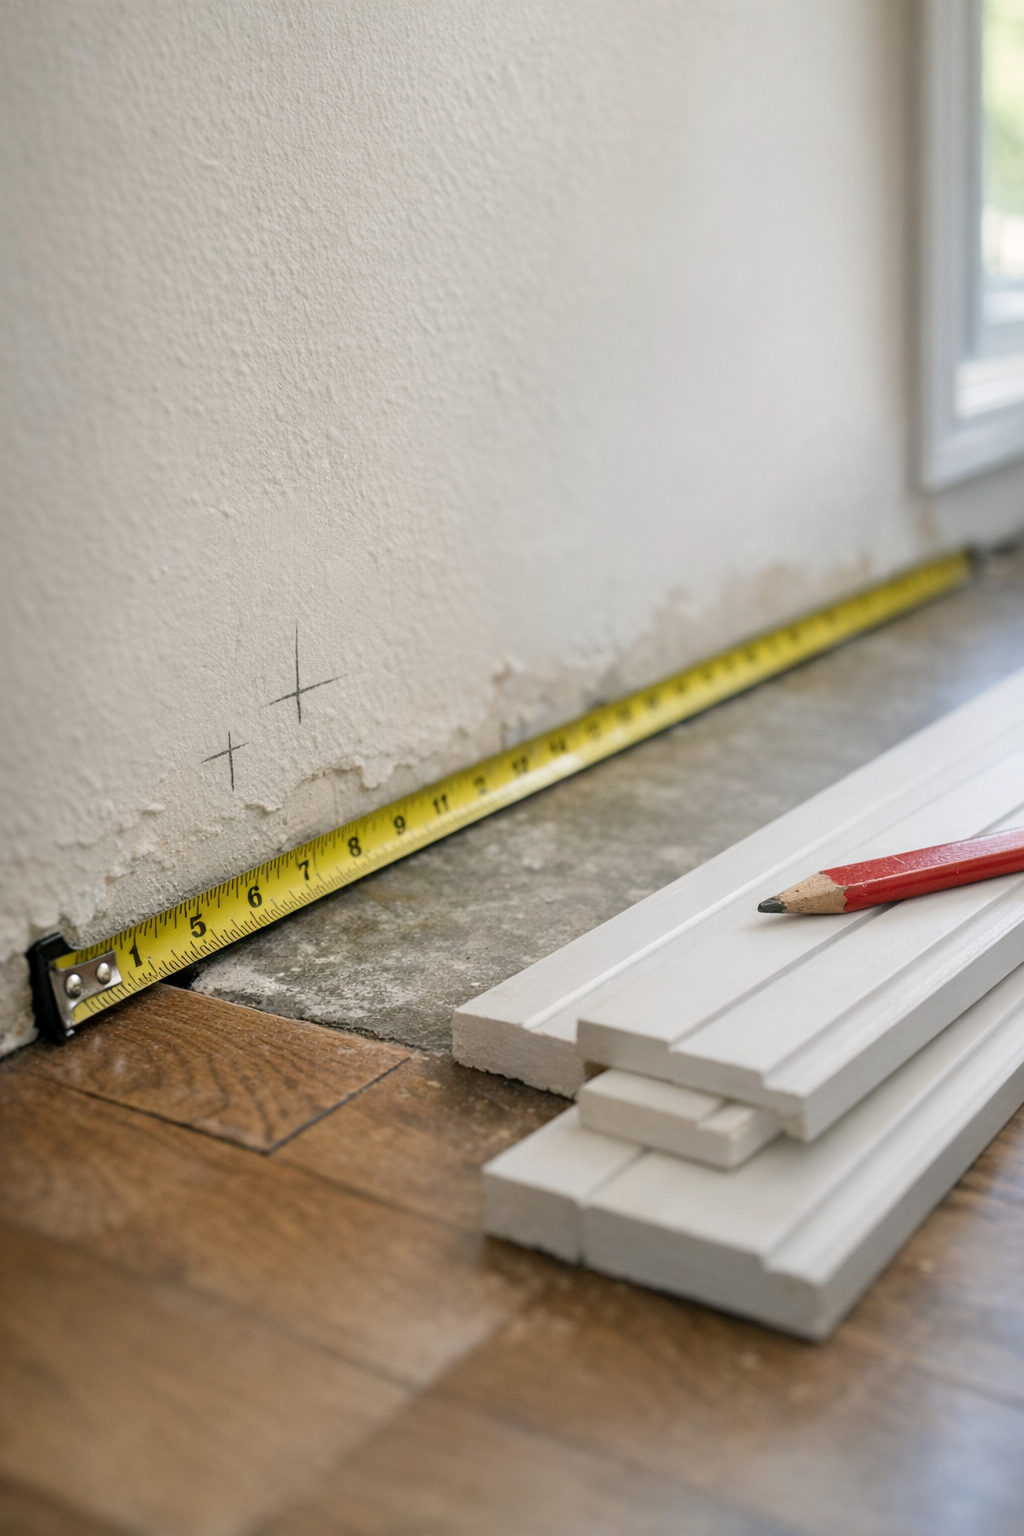
A good trim project starts before the first board is cut. For interior trim installation Laurel FL homeowners can expect the work to begin with measuring each run, noting uneven walls or floor changes, and choosing whether the new trim should match an existing profile or introduce a new look. That profile choice matters because the height, thickness, edge shape, and finish style all affect how the trim lines up with door casing, flooring, cabinetry, and nearby rooms.
Installation includes cutting each piece to length, fitting inside and outside corners, fastening the trim securely, and adjusting the layout so the finished lines look intentional rather than patched together. Outside corners often use mitered corners, which are angled cuts that meet at a point; inside corners may use cope joints, where one piece is shaped to fit the face of another. The practical difference is fit: clean corner work helps avoid obvious gaps, bulky caulk, or joints that open visually after finishing.
After the trim is fastened, the detail work becomes just as important as the carpentry. Nail holes are filled, seams are caulked where appropriate, and the surface is prepared for paint or stain when that finish is part of the project. The quality signals are easy to see: straight runs, consistent reveals around doors and windows, smooth wall transitions, tight joints, and caulk lines that soften small gaps without looking heavy or smeared.
Types of Trim We Can Install
Different rooms call for different trim details, so trim installation in Laurel, FL is not limited to one profile or one style. The right choice depends on what the room needs visually, what is already installed nearby, and whether the goal is a subtle refresh or a more detailed finished look.
- Baseboards: Baseboards run along the bottom of the wall where it meets the floor. Baseboard installation helps cover that transition, protects the lower wall from everyday contact, and gives the room a finished edge. A simple flat baseboard can feel clean and modern, while a taller or more shaped profile can make the room feel more traditional.
- Crown molding: Crown molding sits where the wall meets the ceiling. Crown molding installation can soften a plain ceiling line and add architectural detail, especially in living rooms, dining rooms, bedrooms, and entry areas. Smaller, simpler profiles keep the look understated; larger or layered profiles create a more formal finish.
- Door and window casing: Casing frames openings and helps cover the gap between the wall surface and the door or window unit. Door casing installation is often matched with window casing so the room feels consistent. Square-edge casing gives a cleaner look, while shaped casing adds more shadow and detail around the opening.
- Shoe molding and quarter round: These smaller pieces are installed along the bottom of baseboards, usually where flooring meets the wall. They are useful when a floor edge needs a neat cover without removing the main baseboard. Quarter round has a fuller rounded shape, while shoe molding is typically slimmer and less noticeable.
- Chair rail: Chair rail runs horizontally along the wall, often around dining rooms, hallways, or accent areas. It can help break up tall wall space and add a protective, decorative line. The placement and profile affect whether it feels classic, casual, or more formal.
- Wainscoting: Wainscoting is a more detailed wall treatment that usually combines panels, rails, stiles, and trim pieces on the lower portion of a wall. It adds depth and structure, making it a good fit when a room needs more than a simple border or edge treatment.
The best trim package may use one of these options or several together. A hallway might only need new baseboards and casing, while a dining room may call for crown molding, chair rail, and wainscoting. Matching the profile, scale, and finish to the home keeps the new work from looking like an afterthought.
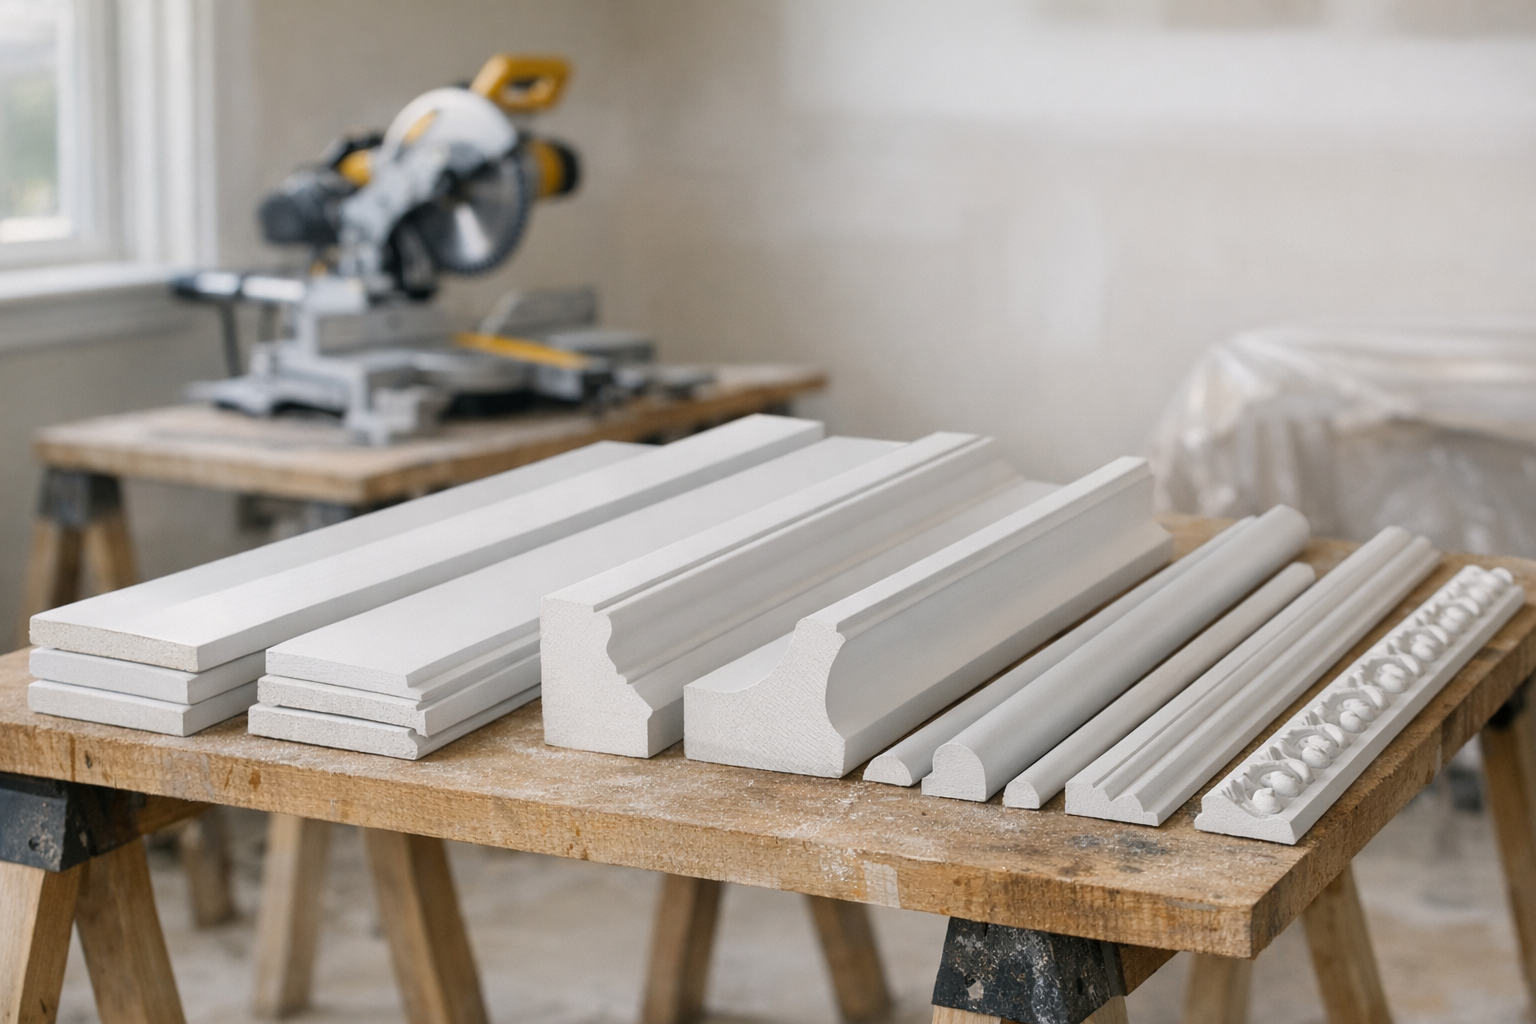
Choosing and Matching Trim Materials
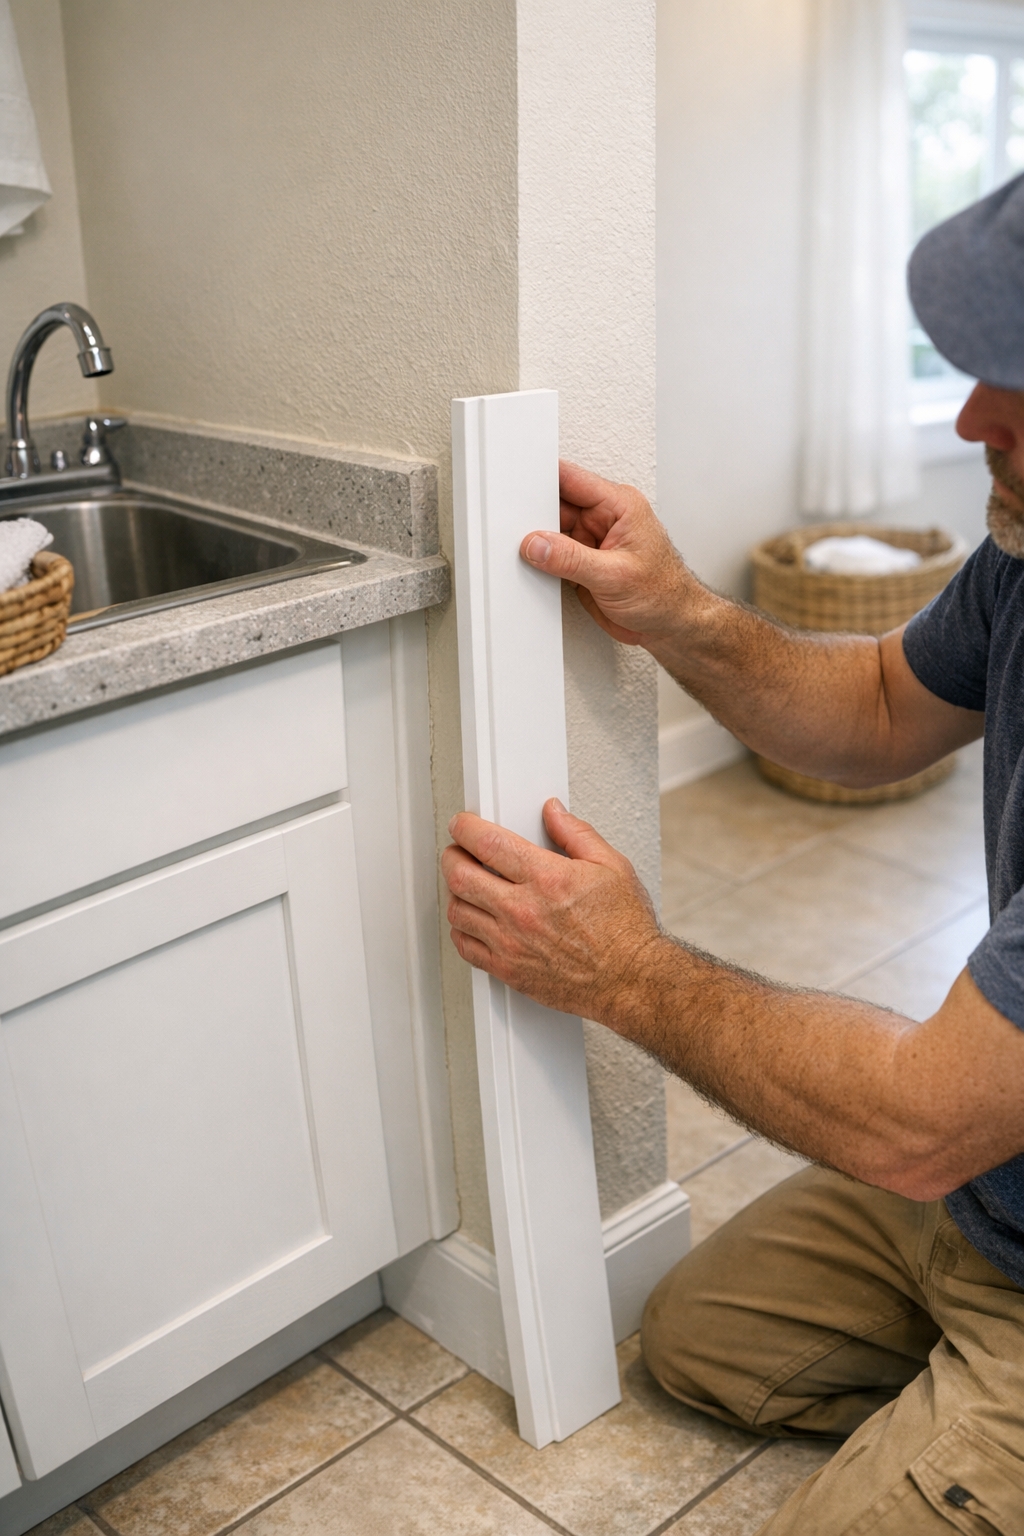
Material choice affects more than the look of the finished edge; it changes how the trim takes paint, how it handles wear, and how well it fits the room where it will be installed. For trim installation in Laurel, FL, that conversation is especially useful in bathrooms, laundry rooms, entry areas, and other spaces where moisture exposure may be part of daily use.
- MDF trim: MDF is an engineered trim material with a smooth surface that works well for painted profiles. It can be a practical choice when the goal is a clean, consistent painted finish, though it is usually better suited to dry interior areas than spaces where swelling or repeated moisture contact is a concern.
- Solid wood trim: Solid wood has natural grain and can be painted or stained, which gives it more finish flexibility when the homeowner wants a warmer or more traditional look. It may cost more than some paint-grade options, but it can be the right match when existing trim is stained or when the profile needs a sharper wood detail.
- Finger-jointed wood: Finger-jointed trim is made from shorter wood pieces joined together, then typically installed as a paint-grade product. It offers a real-wood base with a more uniform painted appearance than stain-grade boards, making it useful when the room needs durable painted casing, baseboards, or molding without highlighting natural grain.
- PVC trim: PVC and other moisture-resistant trim options are often considered for areas where humidity, splashes, or damp cleaning are more likely. They do not provide a stained wood look, but they can be a smart discussion point for moisture-prone rooms in Laurel-area homes near Gulf Coast conditions.
When new trim needs to blend with existing baseboards, molding, door frames, or window frames, the profile matters as much as the material. Height, thickness, edge shape, reveal lines, and finish all affect whether the new pieces look original to the room. A good match may involve using a similar stock profile, adjusting a transition at a doorway, or choosing a complementary style when an exact match is not practical.
When to Replace Trim Instead of Repairing It
Replacement starts to make more sense when the problem is bigger than one nick, one open seam, or one loose end. A small dent, a short gap, or a single cracked caulk line may be repairable, but trim replacement is often the cleaner choice when boards are swollen, split, water-stained, pulling away from the wall, or damaged across several sections.
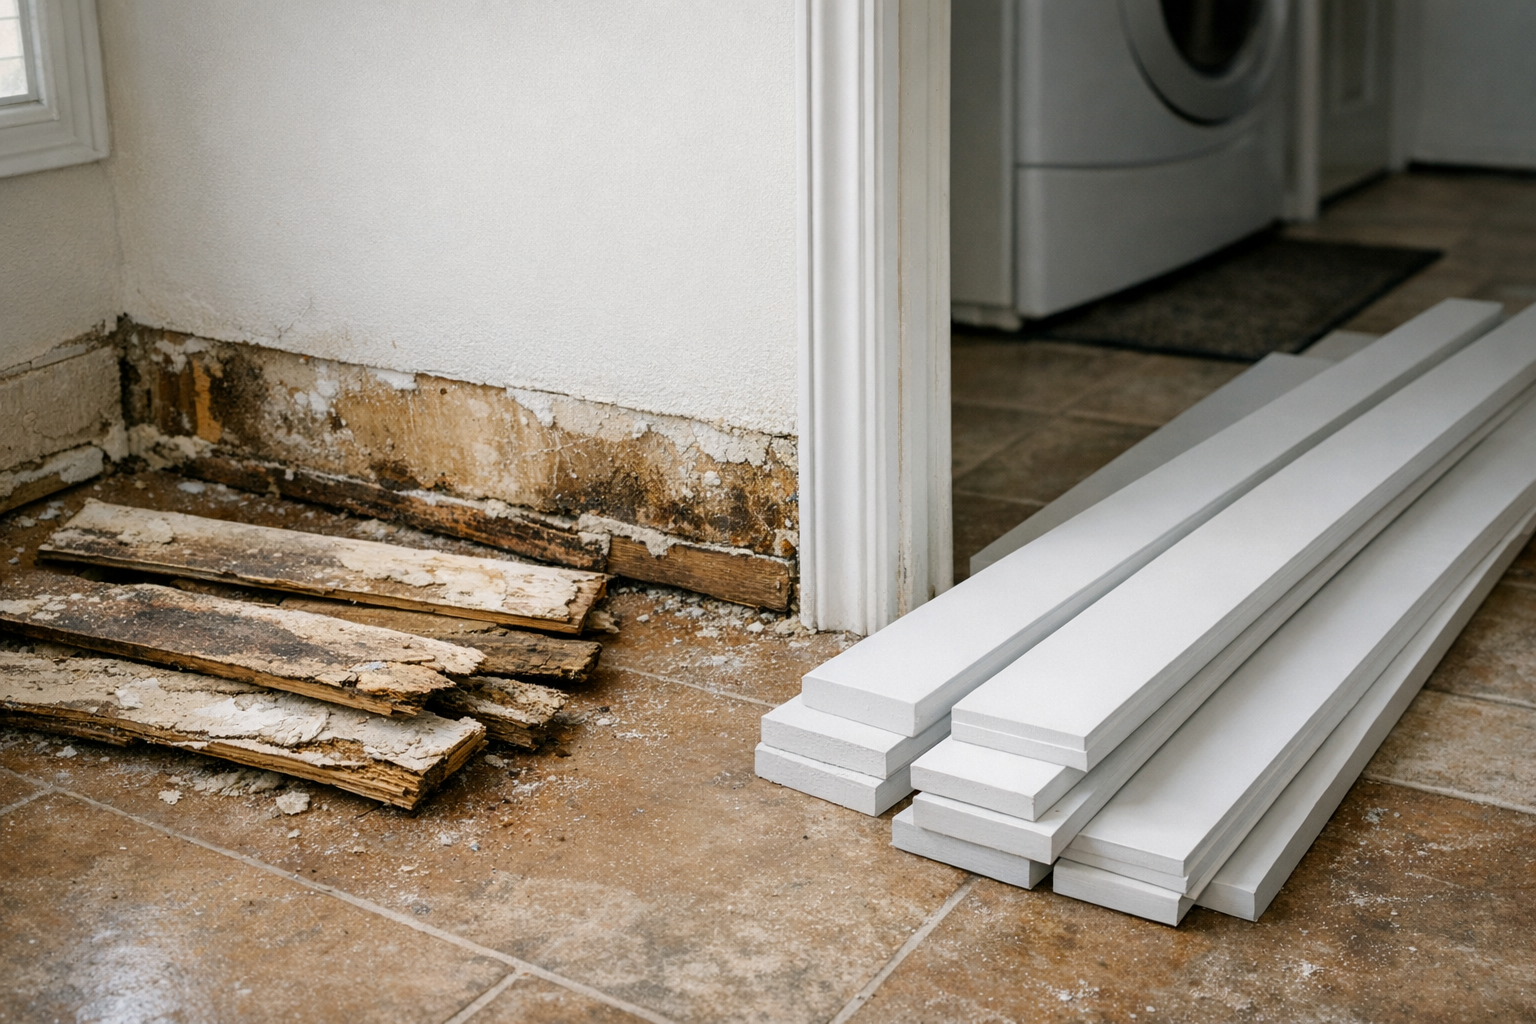
Look closely at the areas that draw the eye: baseboards along wall transitions, casing around doors and windows, and inside corners where two trim runs meet. Weak previous cuts, mismatched profiles, crushed outside corners, wide gaps, or trim that no longer lines up after new flooring can make a room look patched even after touch-up work. In those cases, installing new pieces can create a straighter, more consistent finish than trying to hide every flaw.
Style is another reason to replace rather than repair. If the existing trim is too thin for the room, no longer matches nearby updates, or conflicts with a new paint and flooring plan, trim replacement can refresh the space while solving the fit issues at the same time. During an assessment for trim installation in Laurel, FL, it is also worth clarifying whether old trim removal is included in the scope or listed separately so the project expectations are clear before work begins.
Why Professional Installation Makes a Difference
The difference often shows up in the last small gap, corner, or reveal line. Each board has to be measured, cut, and placed in relation to the walls, floor, ceiling, doors, and nearby trim. When those measurements are off, even slightly, the result can show as uneven spacing, proud edges, or joints that draw attention instead of blending into the room.
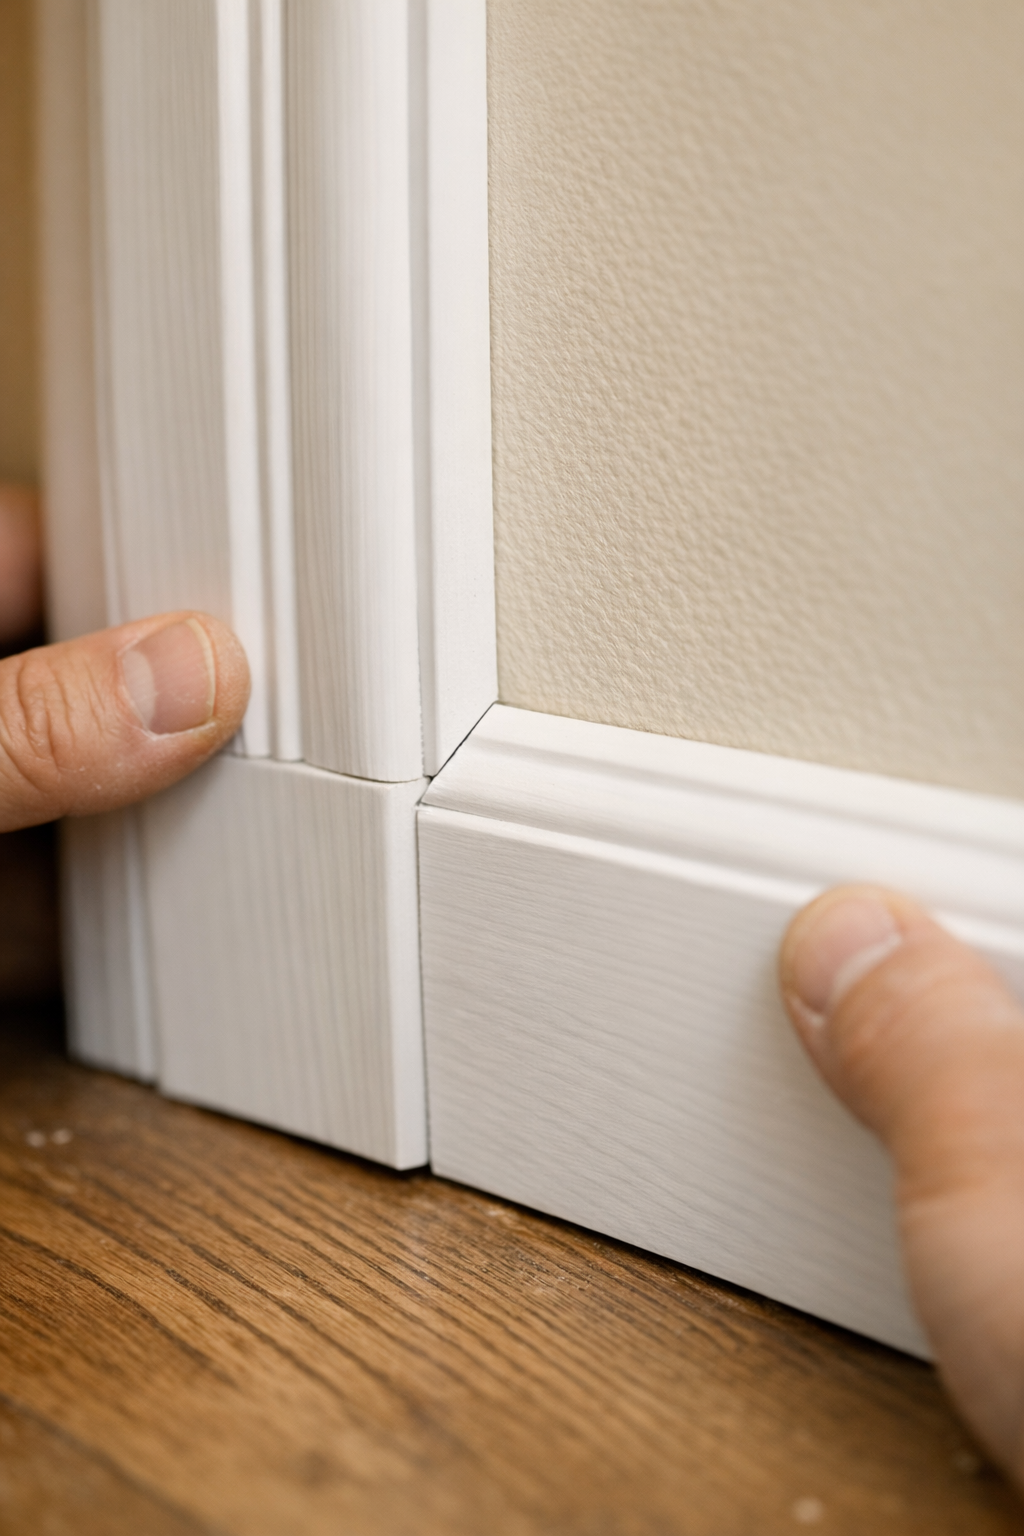
Mitered corners are angled cuts used where two trim pieces meet, often at outside corners or decorative molding returns. A clean miter closes tightly and keeps the trim profile flowing around the corner; a weak one leaves a visible wedge-shaped gap or a point that does not line up. The same idea applies to casing reveals around doors and windows: consistent spacing makes the frame look intentional, while uneven margins can make otherwise new trim feel crooked.
Skilled trim installers in Laurel FL also know how to work with walls and floors that are not perfectly straight. Instead of forcing every piece flat and creating open seams elsewhere, the installer may adjust the cut, fastening pattern, or caulk line so the finished surface looks cleaner. Secure fastening helps boards stay seated, smooth caulk lines soften small transitions, and filled nail holes create a paint-ready surface. None of that is flashy, but it is what gives finished trim its polished look.
What to Expect During Your Trim Installation Project
Before anyone brings in saws, fasteners, or caulk, a Laurel FL trim installation project should start with a clear description of what you want changed. When you request service, be ready to name the rooms involved, the trim type you have in mind, and whether the work is new installation, replacement, or matching existing pieces around walls, windows, or door frames.

If an assessment is scheduled, that visit is the time to compare practical options. Material, profile height, edge shape, and finish direction all affect how the new trim will relate to the room, the home's style, and the trim that is already there. Paint-grade trim gives you a clean surface for a painted finish, while stain direction matters more when the wood grain will remain visible.
- Before the appointment, make notes about damaged areas, loose boards, swollen sections, gaps, or corners that bother you most so they can be discussed room by room.
- Think about whether you want the new trim to blend in or create a more noticeable upgrade, because that choice affects profile, scale, and finish.
- Clear access along walls, baseboards, windows, and doorways where possible so measuring, fitting, and fastening can be handled without working around furniture or clutter.
During installation, the focus shifts to accurate cuts, clean joints, secure fastening, and finish-ready details. After the trim is set, finishing conversations may include nail-hole filling, caulk lines, paint or stain preparation, old trim removal, and disposal. Those items are worth clarifying up front, since they can change the scope of interior trim installation Laurel FL homeowners are requesting.
Request Trim Installation Service in Laurel, FL
A useful service request is specific about scope, existing conditions, and the finish you want in the room. It can cover new trim, trim replacement, profile matching, or a more noticeable interior upgrade, such as baseboard installation along the floor line, casing around doors and windows, crown at the ceiling, shoe molding at flooring edges, or decorative molding for added detail.
- Share the trim type you have in mind and whether it should blend with existing profiles or create a new look.
- Mention whether old trim is still in place, damaged, missing, painted, stained, or ready to be removed.
- Include photos if you have them, especially of corners, doorways, windows, flooring transitions, and any profile you want matched.
- Note your desired finish, such as paint-grade trim, stained wood, or a material choice you are already considering.
When you are ready, request service with the rooms involved and the details that matter most to you. From there, the project can be discussed in practical terms: what needs to be installed, what should be matched, and which finish-ready details will help the completed trim look clean and intentional in your Laurel home.
Plan trim installation in Laurel, FL
Compare the broader Trim Installation service details, then use the Laurel, FL service area page if you want the local overview. When you are ready, request a trim installation estimate with the rooms, trim goals, and photos that help explain the scope.
FAQs
What types of trim can be installed in a Laurel, FL home?
Common trim options include baseboards, crown molding, door and window casing, shoe molding, quarter round, chair rail, and wainscoting. Baseboards finish the floor to wall joint, crown molding finishes the ceiling line, and casing frames doors and windows.
What is included in professional trim installation?
Professional trim installation includes measuring each run, choosing or matching a profile, cutting pieces to length, fitting inside and outside corners, fastening the trim, and preparing surfaces for paint or stain. Finish details can include filled nail holes, caulked seams, tight joints, consistent reveals, and smooth wall transitions.
Can new trim be matched to existing baseboards or molding?
Yes, new trim can often be matched to existing baseboards, molding, door frames, or window frames by comparing height, thickness, edge shape, reveal lines, and finish. If an exact stock profile is not practical, a complementary style or adjusted transition at a doorway can help the new trim blend with nearby rooms.
Should I choose MDF, wood, finger-jointed wood, or PVC trim for my home?
MDF works well for smooth painted trim in dry interior areas, while solid wood is better when you want visible grain, stain options, or a more traditional look. Finger-jointed wood is a paint-grade real wood option, and PVC is a moisture-resistant choice for bathrooms, laundry rooms, entry areas, or other damp spaces.
How do I know if my trim needs repair or full replacement?
Small dents, short gaps, or a single cracked caulk line may be repairable. Full replacement is usually the cleaner choice when trim is swollen, split, water-stained, pulling away from the wall, mismatched, badly gapped, or damaged across several sections.