
When flooring height, cabinet layout, or drywall opening prep is still unsettled, trim can force the rest of the finish work to work around the wrong line. In a typical remodel sequence, the cleanest results come after rough work, drywall repairs, opening prep, and major layout decisions are already settled, and before the final paint finish is completed.
The timing matters because trim is where different trades meet. Baseboards need to relate cleanly to finished flooring, especially when homeowners want a minimal-gap look with tile, luxury vinyl plank, or hardwood. Cabinet-adjacent pieces need to wait for cabinet locations or actual cabinet installation so the trim can die into panels, toe-kicks, wall returns, and built-ins without awkward cutouts. Paint quality is affected too: trim that is in place before finish paint gives painters a cleaner edge to prep, caulk, and coat.
For Sarasota County remodeling trim decisions, the schedule often has to account for slab homes, flooring changes, humidity, and occupied-project timing. A Venice villa remodel with new LVP, a condo kitchen with cabinet changes, and a phased whole-home refresh may not follow the exact same sequence. This guide is not a DIY cutting tutorial or a style catalog; it is a homeowner's planning guide for knowing when trim should enter the schedule so the finish carpentry in a Sarasota remodel looks intentional instead of patched together at the punch list.
The Typical Trim Installation Sequence During a Remodel
A useful trim installation sequence looks less like a single calendar date and more like a set of checkpoints. In many remodels, the order runs: demolition, framing or wall repairs, drywall work, door and window preparation, flooring or cabinet milestones as applicable, trim installation, caulk and fill, finish paint, and then punch-list touch-ups.
The key phrase is "as applicable." Flooring type changes the plan because baseboards need to meet the finished floor height cleanly. Cabinet layout changes the plan because base, crown, scribe, and return pieces may need to stop into cabinet panels or built-ins. Remodel trim installation timing is strongest when those heights and locations are settled before the finish carpenter starts closing up the edges.
Door and window areas are another checkpoint. Casing should follow the point where openings are ready, drywall repairs are complete, and the door or window conditions are stable enough to create consistent reveals. If casing goes up before those surfaces are corrected, the finished edge can make the wall problem more visible instead of hiding it.
Paint usually comes after trim is installed, filled, caulked, and prepared, because painters can create cleaner finished lines when the trim package is already in place. That does not mean every wall receives its final coat at the same moment; it means the finish plan should identify who is responsible for nail holes, caulk lines, primer, enamel, wall touch-ups, and final inspection.
In Sarasota County and Venice FL homes, the better planning signal is not "install all trim on Tuesday." It is confirmed flooring heights, cabinet locations, casing profiles, door swings, moisture-aware material handling, and a clear paint handoff. A weaker signal is installing large amounts of trim before the final floor height or cabinet layout is known, then hoping the punch list can make the transitions look intentional.
Baseboards, Shoe Molding, and Flooring: What Usually Comes First?
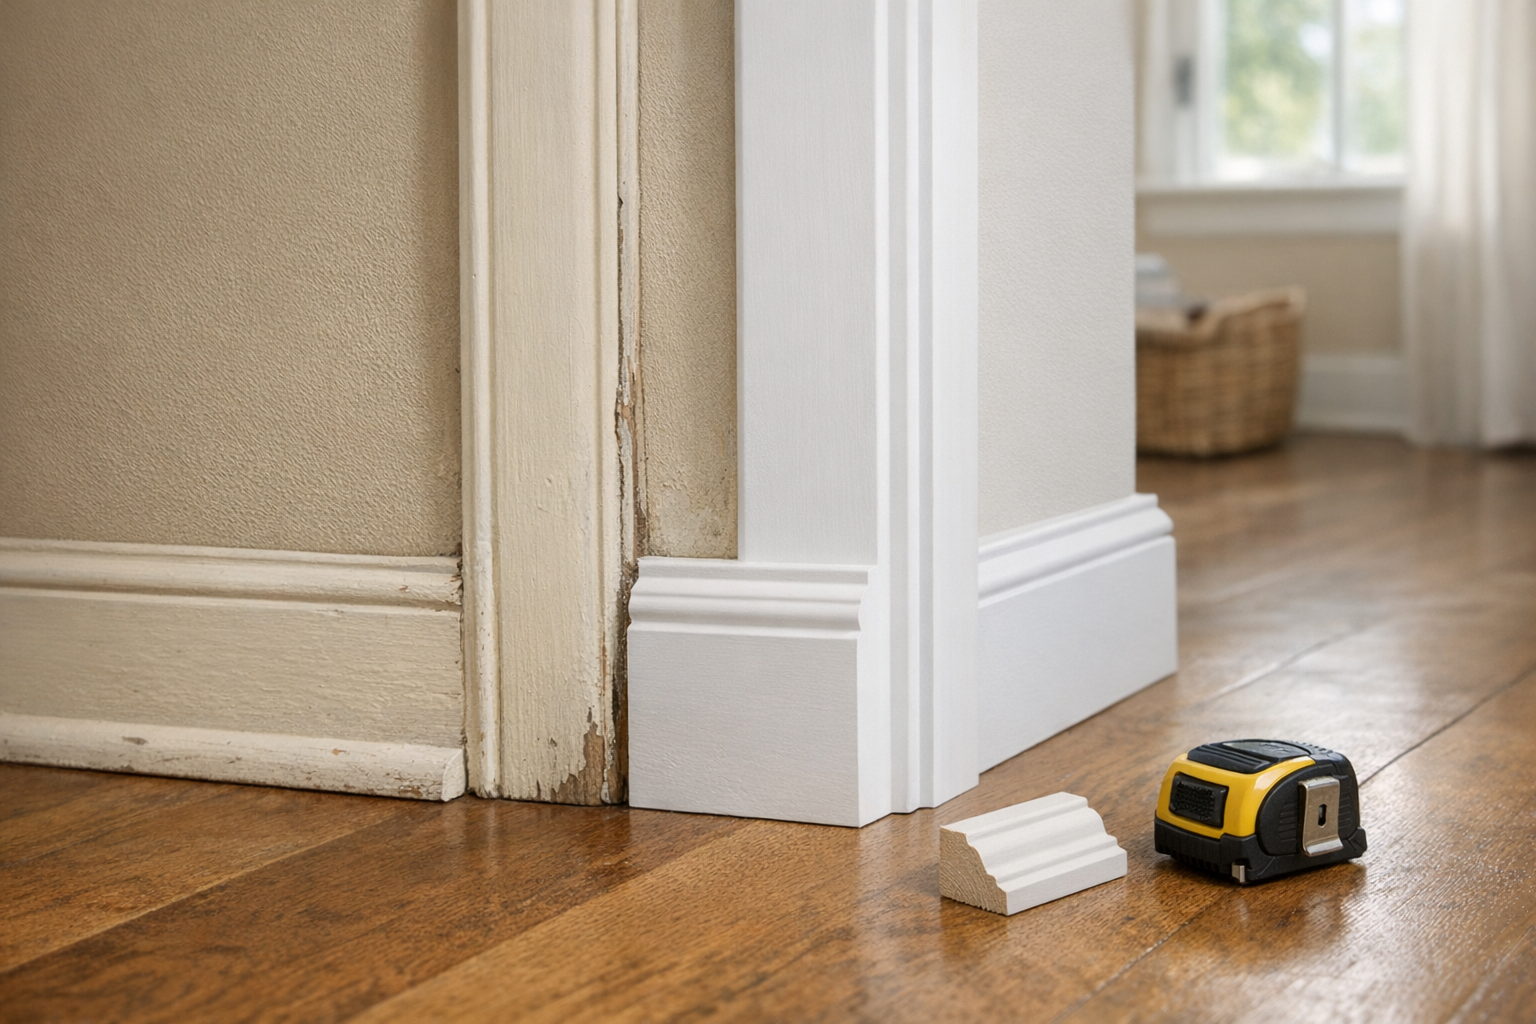
The floor height is the detail that makes baseboard timing either simple or frustrating. In most remodels with new luxury vinyl plank, hardwood, or tile, baseboards are installed after the flooring so the bottom edge can be fit to the finished surface instead of guessed from a subfloor or old floor height.
That matters in Sarasota County homes where slab construction and flooring changes are common. If the trim is measured before the new floor is down, a small height difference can turn into a visible shadow line, a baseboard that looks buried by thicker tile, or a gap that looks too wide after thinner LVP replaces carpet.
Shoe molding and quarter round are small trim pieces installed along the bottom of the baseboard. They do not replace the baseboard; they cover the joint where the floor meets the wall. When existing baseboards stay in place, these pieces are often used to conceal expansion gaps or small floor irregularities instead of removing and reinstalling all the base trim.
The tradeoff is appearance. Removing old trim and installing baseboards after the new floor usually creates the cleaner, more custom look. Leaving the old trim can reduce disturbance in an occupied remodel, but the finished result may depend more heavily on shoe molding to hide the edge, especially where the floor needs a gap at the perimeter.
Tile needs particular attention because the finished floor line is affected by the tile surface, edge conditions, and transitions into nearby rooms. A baseboard installed too early can look slightly high in one area and tight in another once the tile work is complete, especially on remodels where slab conditions and floor changes already require careful coordination.
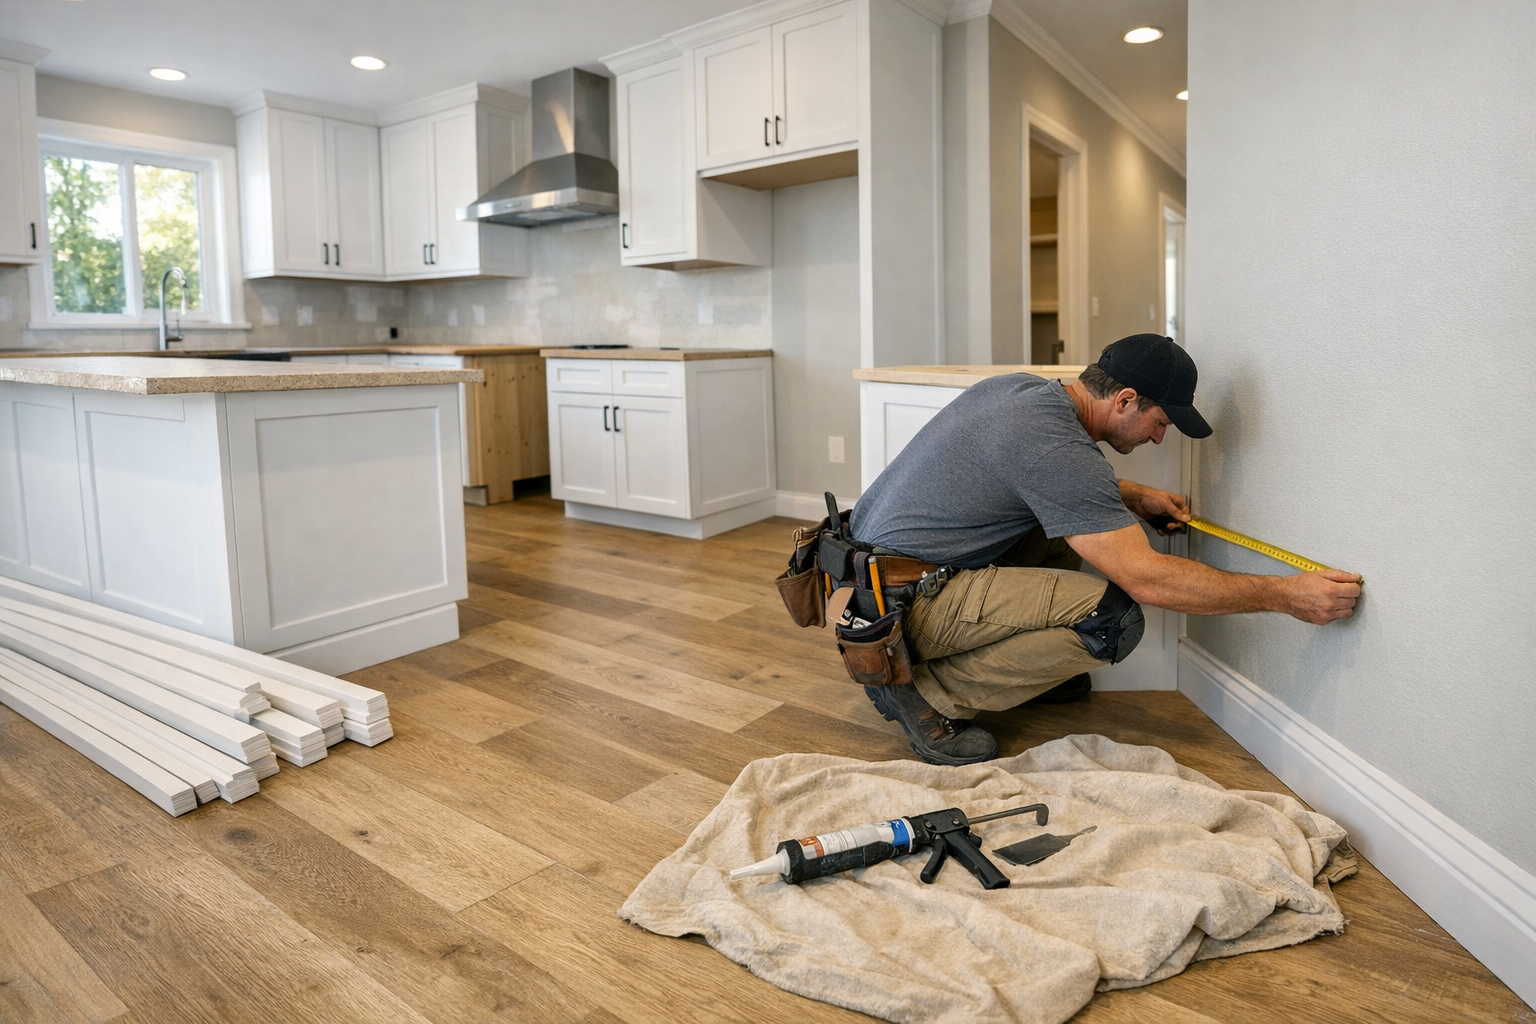
A good checkpoint is simple: before base trim is cut for a room, the finished flooring height and transition locations should be known. That keeps the trim installation during remodel work from becoming a guessing game at doorways, hall transitions, and open-plan room changes.
When Door and Window Casing Should Be Installed
Openings have their own version of that same readiness test. Door casing and window casing should wait until the door or window area is actually ready for finish work: the drywall around it has been repaired, sanded, and shaped; the jamb is set or corrected; and any major wall changes nearby are finished.
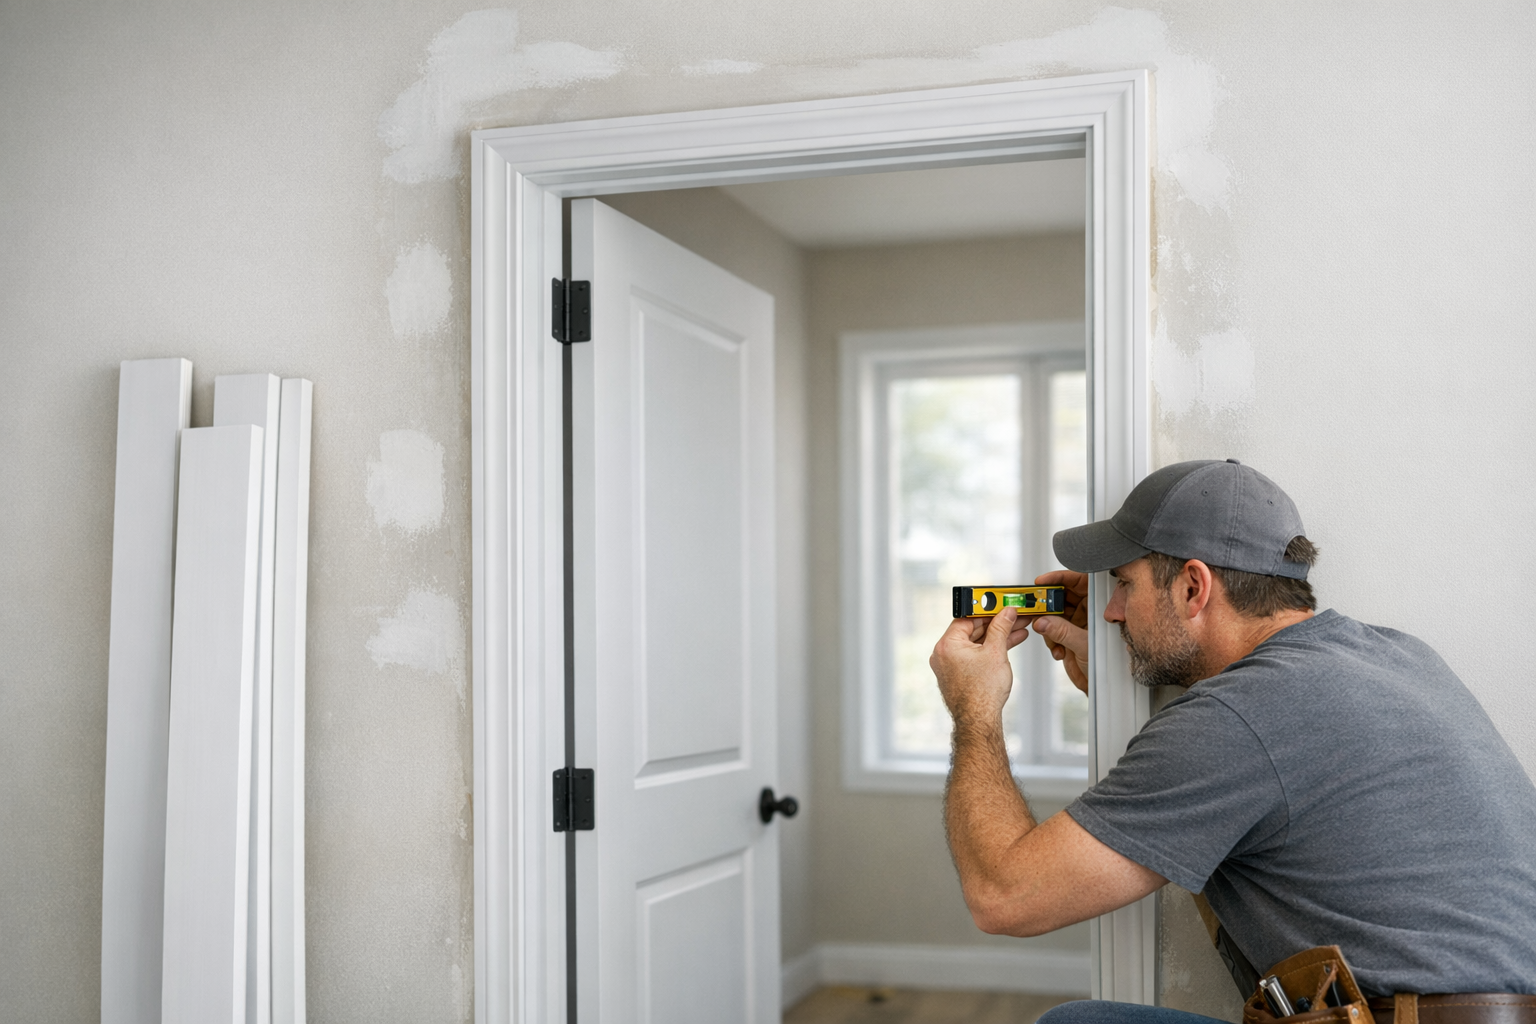
For interior doors, the important checkpoint is the reveal, which is the narrow, even line between the edge of the jamb and the casing. If a door slab still needs adjustment, a jamb is twisted, or drywall mud is still being built up around the opening, installing casing too soon can lock in an uneven look or force extra caulk and touch-up later.
Window casing follows the same basic timing, but the details can vary more in remodels. Some windows have only casing around the opening, while others include a stool, which is the horizontal ledge at the bottom, and an apron, which is the trim piece below that ledge. Reusing an existing stool may call for a different casing plan than replacing the whole window surround.
In most remodels, casing can be installed before finish paint because painters can then caulk seams, fill nail holes, and apply the final coating cleanly. The weak signal is using casing to cover unfinished drywall problems. The better signal is casing installed after the opening is stable enough to create clean, consistent lines.
In Sarasota County and Venice FL homes, this matters even more on occupied remodels where rooms may be finished in phases. A short pre-trim look at door swings, window returns, patched drywall, and casing profile choices helps the finish carpentry land cleanly instead of becoming a late-stage repair project.
Cabinets, Built-Ins, and Trim: Which Pieces Wait Until Cabinet Installation?
Cabinet areas need their own pause before nearby trim is finalized. In most kitchens, laundry rooms, offices, and pantry remodels, the cabinets should be installed, or at least laid out accurately from shop drawings, before baseboards, cabinet trim, crown returns, and wall-end details are cut to final length.
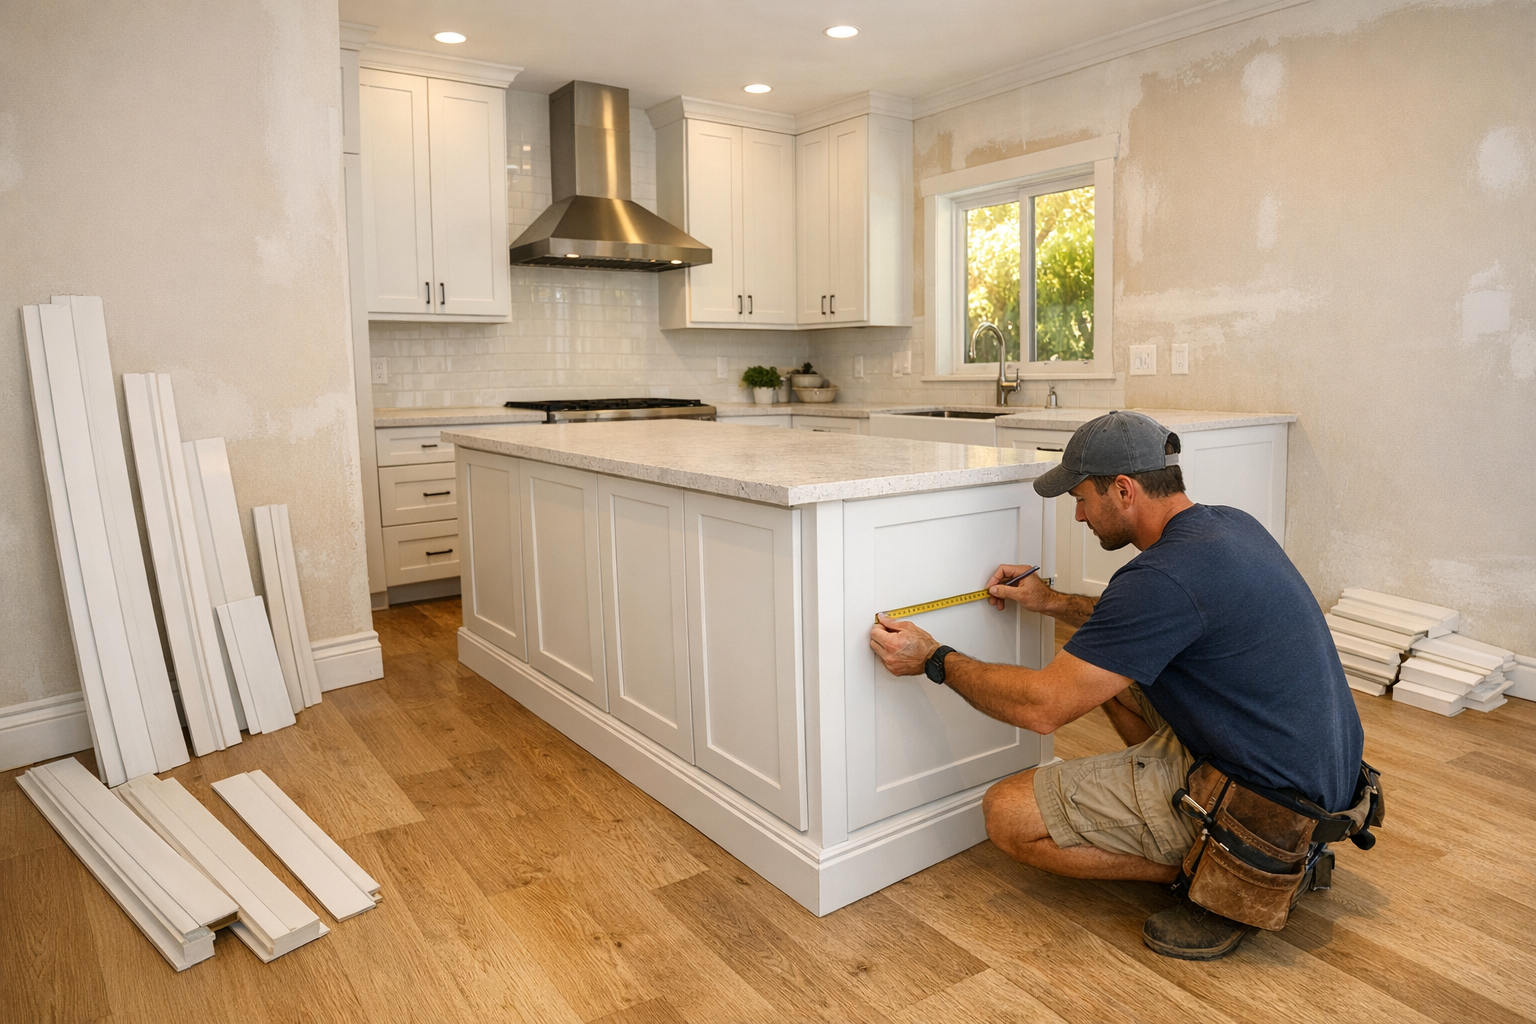
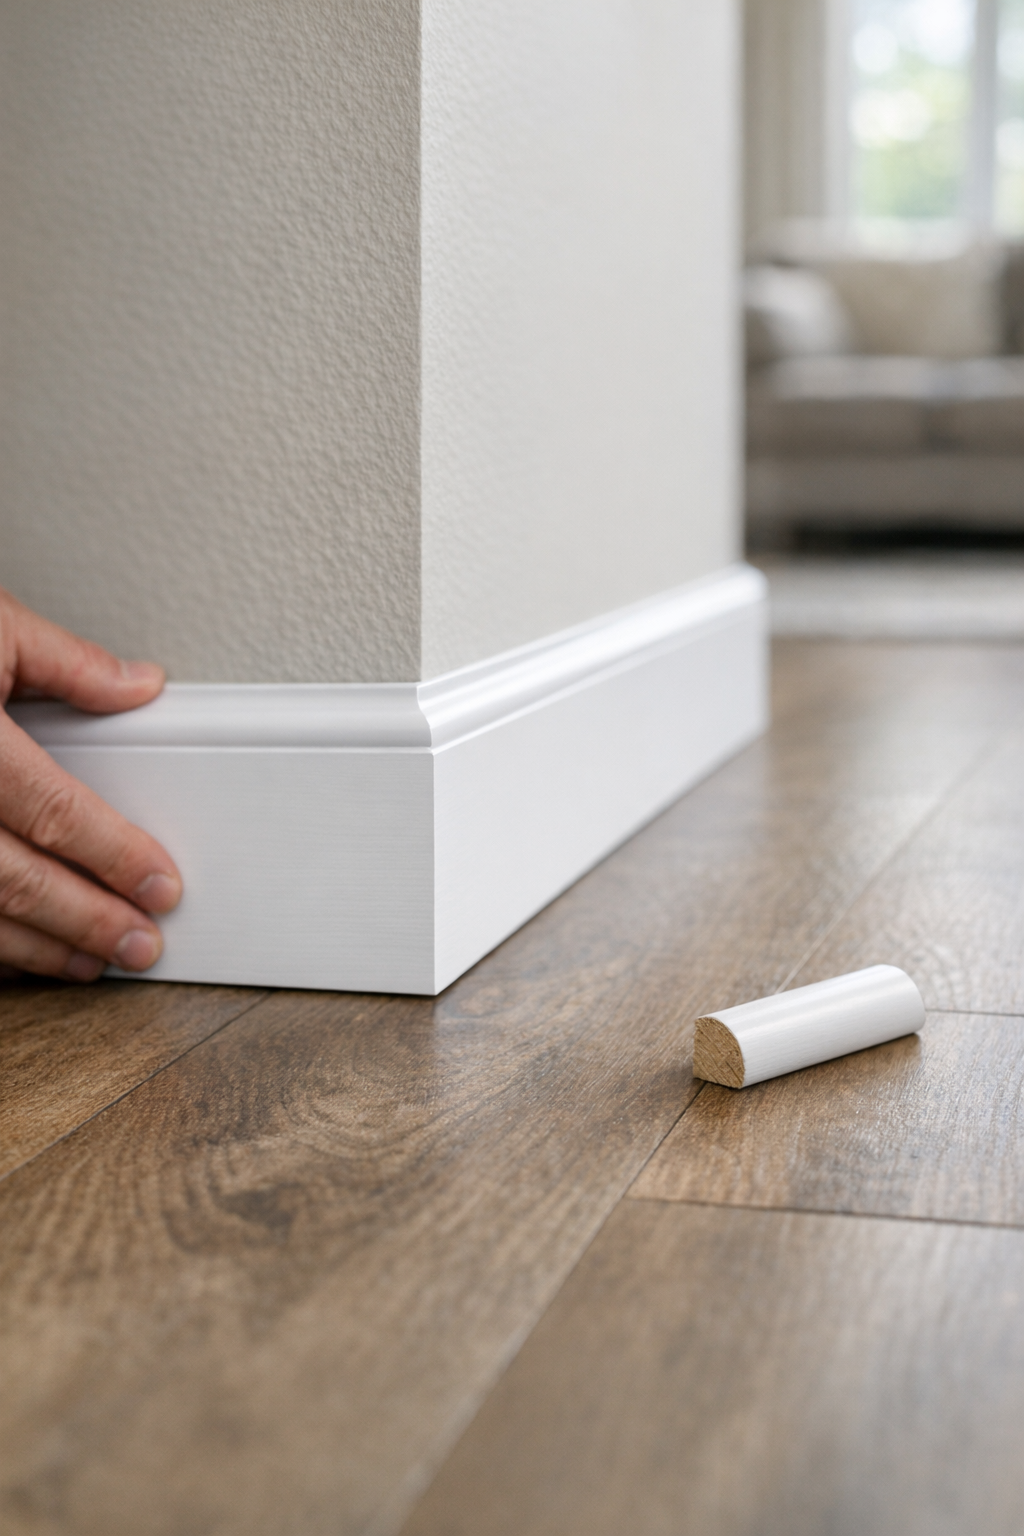
Baseboards are a good example. Along an open wall, baseboard can run continuously. At a cabinet run, it often stops cleanly into a finished end panel instead of disappearing behind cabinetry. That avoids trapped trim, strange notches, and inconsistent reveals where the baseboard meets a refrigerator panel, pantry side, island panel, or built-in bench.
Scribe molding is the small filler trim used where a cabinet edge meets a wall that is not perfectly flat or square. It hides the narrow, uneven gap between the cabinet and the wall, which is common in remodels. Unlike baseboard, which defines the bottom of the wall, scribe molding belongs to the cabinet fit, so it usually waits until the cabinet installation is complete.
Toe-kick areas, crown-to-cabinet transitions, pantry built-ins, and wall returns all depend on the cabinet footprint. A toe kick is the recessed space at the bottom of base cabinets; crown-to-cabinet trim connects upper cabinets to ceiling or wall trim; a wall return is where trim turns or terminates at a short wall edge. If trim is installed before those locations are known, the carpenter may have to cut around finished work instead of making intentional, clean terminations.
For Sarasota County and Venice FL remodels, this coordination is especially useful in slab homes with tile or LVP changes and occupied-home scheduling. The stronger planning signal is installed cabinets, marked cabinet lines, or reliable shop drawings before cabinet-adjacent trim is finalized; the weaker signal is finishing trim installation during remodel work before anyone knows exactly where the island, pantry tower, or built-in ends.
Trim and Paint: Why the Pre-Paint Trim Walkthrough Is a Key Checkpoint
The handoff to the painter is where small trim decisions become visible. A pre paint trim walkthrough is a short quality-control pass after most trim is installed and before the final paint finish, so the homeowner, remodeler, painter, and trim carpenter can agree on what is ready, what needs prep, and what should be corrected before paint locks in the look.
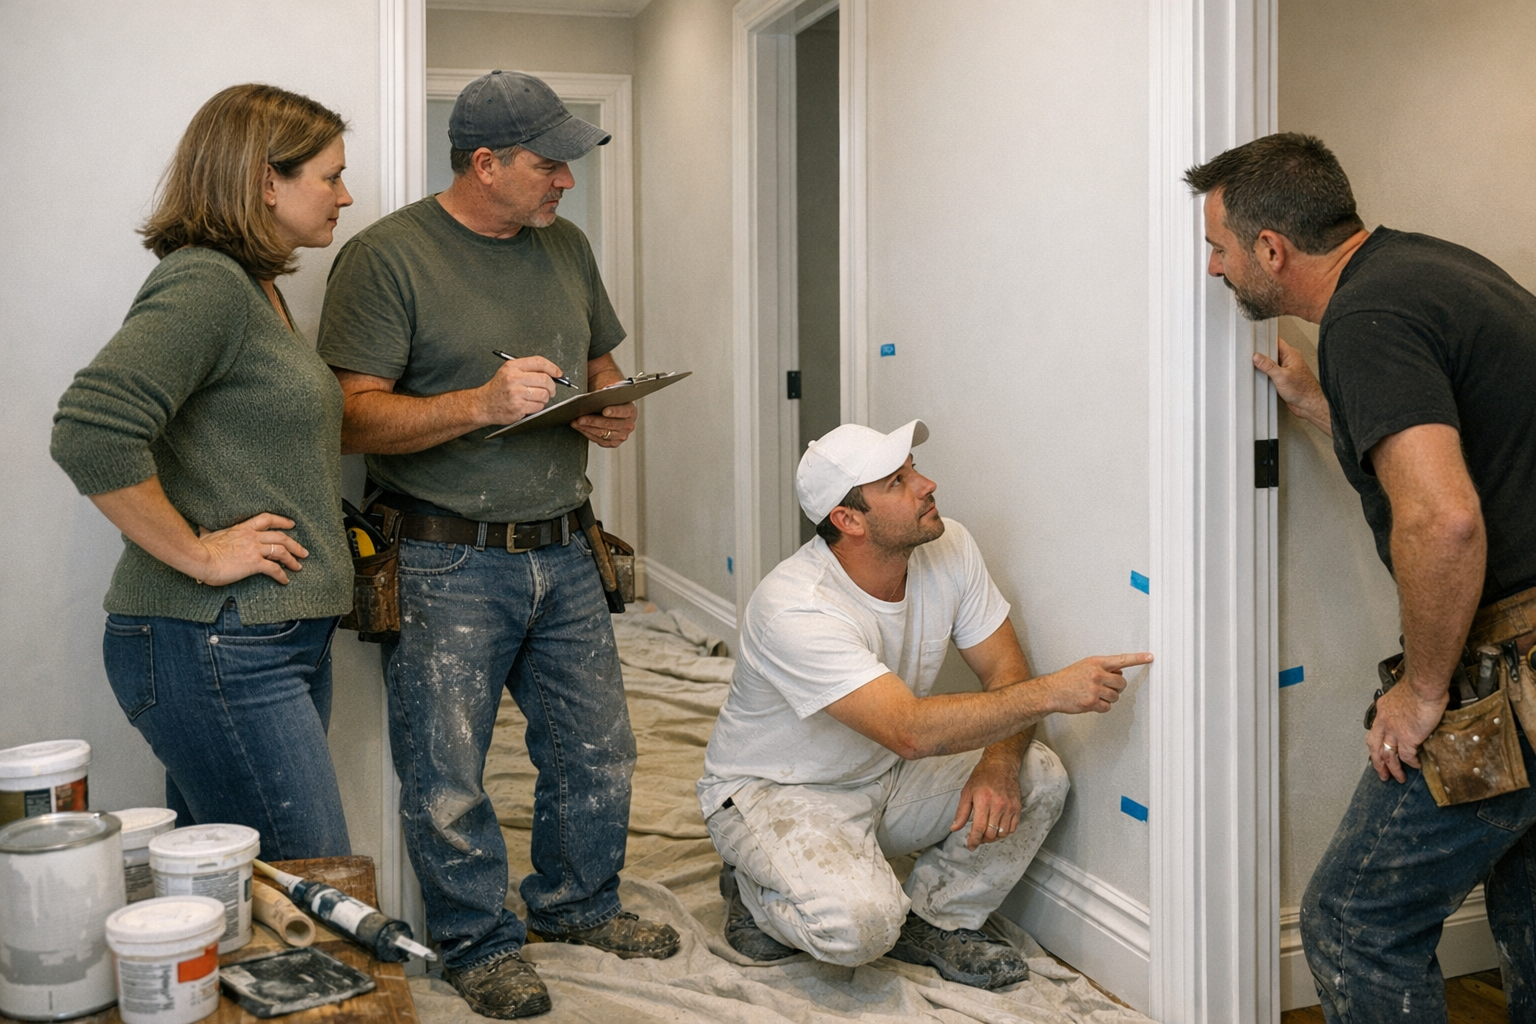
This is why trim can often be installed before the final coat of paint, as long as the prep steps are planned instead of rushed. The trim carpenter's work should be reviewed for fit and alignment; the painter's work usually picks up with filling nail holes, sanding, caulking paint-grade gaps, priming bare material where needed, and applying the finish coats.
- Nail holes and fastener marks: these should be visible enough to fill before finish paint, not discovered after the room is supposedly complete.
- Caulk lines and small gaps: paint-grade trim often relies on neat caulk where trim meets walls, ceilings, and adjoining pieces, but wide or uneven gaps may point back to a fit issue.
- Scarf joints, outside corners, and crown molding seams: these are the places where a small misalignment can cast a shadow after paint, especially under ceiling lights or natural light from sliders and windows.
- Casing reveals and baseboard returns: the walkthrough should catch uneven reveal lines, unfinished end returns, or short pieces that need to be corrected before the painter does final paint prep.
- Cabinet-adjacent details: scribe, toe-kick trim, crown-to-cabinet transitions, and missing filler pieces should be identified before the painter has to touch up around finished cabinetry.
In Sarasota County remodels, this checkpoint is especially useful because occupied scheduling, humidity, slab-home flooring changes, and bright coastal light can make small finish issues stand out. A strong signal is a marked-up walkthrough before final paint; a weak signal is asking the painter to "make it disappear" after trim details were never reviewed.
Exceptions: Occupied Homes, Phased Projects, Moisture, and Reused Trim
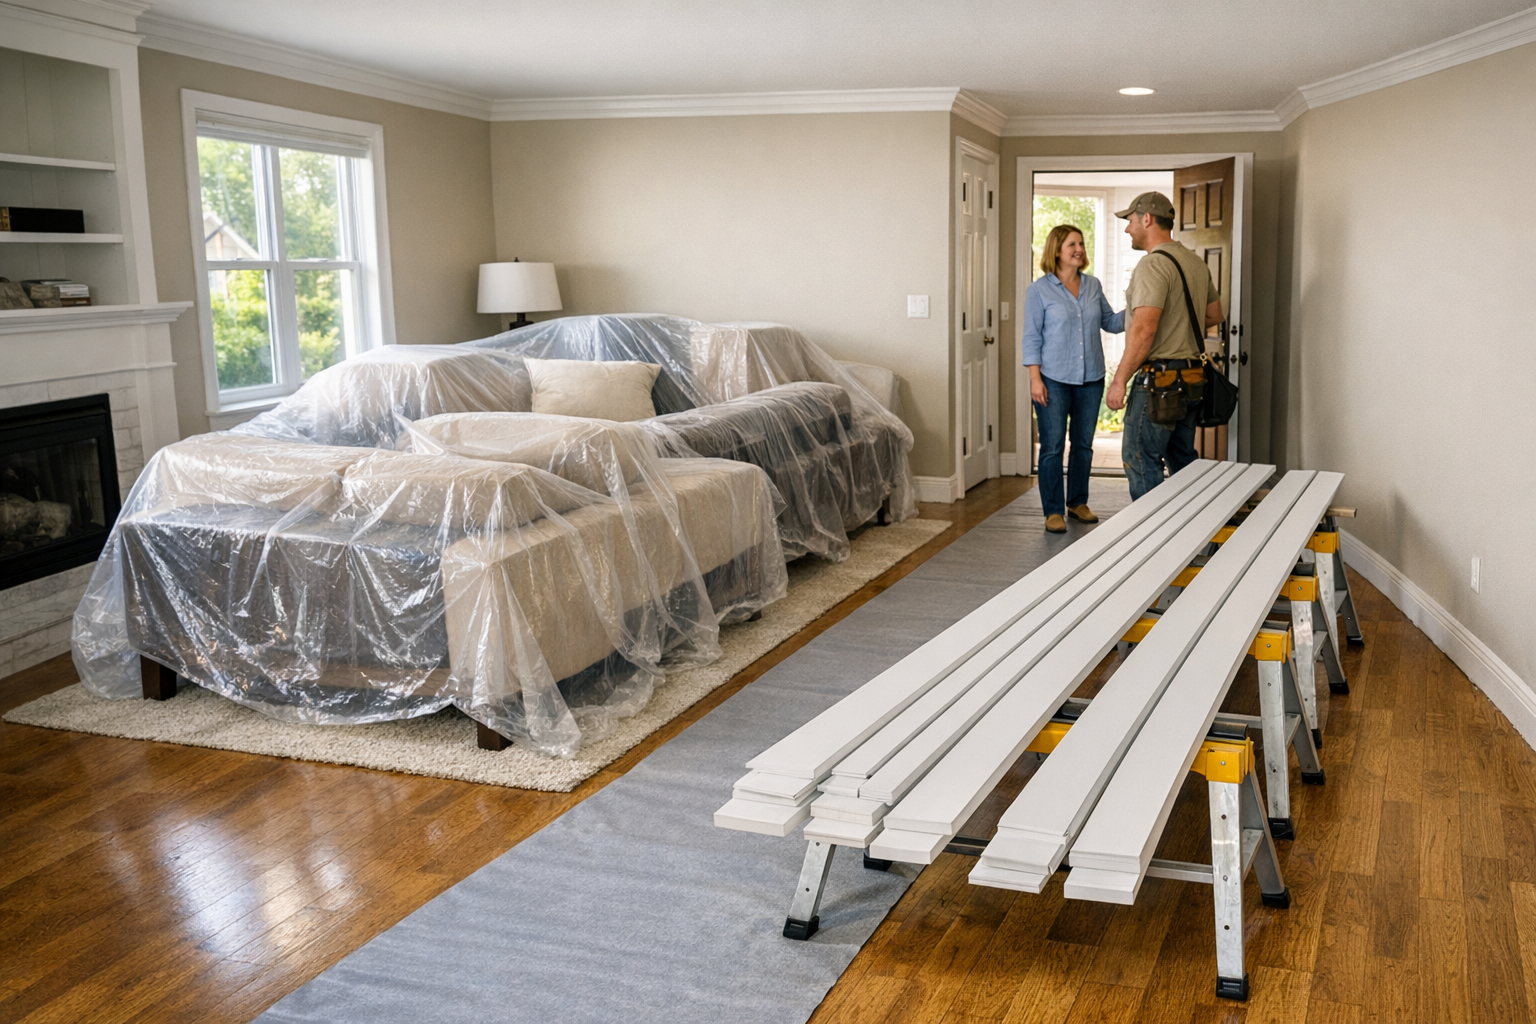
Real projects also come with interruptions that can change the clean sequence. In a phased remodel, interior trim during remodeling may be installed room by room instead of all at once, especially when bedrooms, baths, or a main living area need to return to service before the rest of the home is finished.
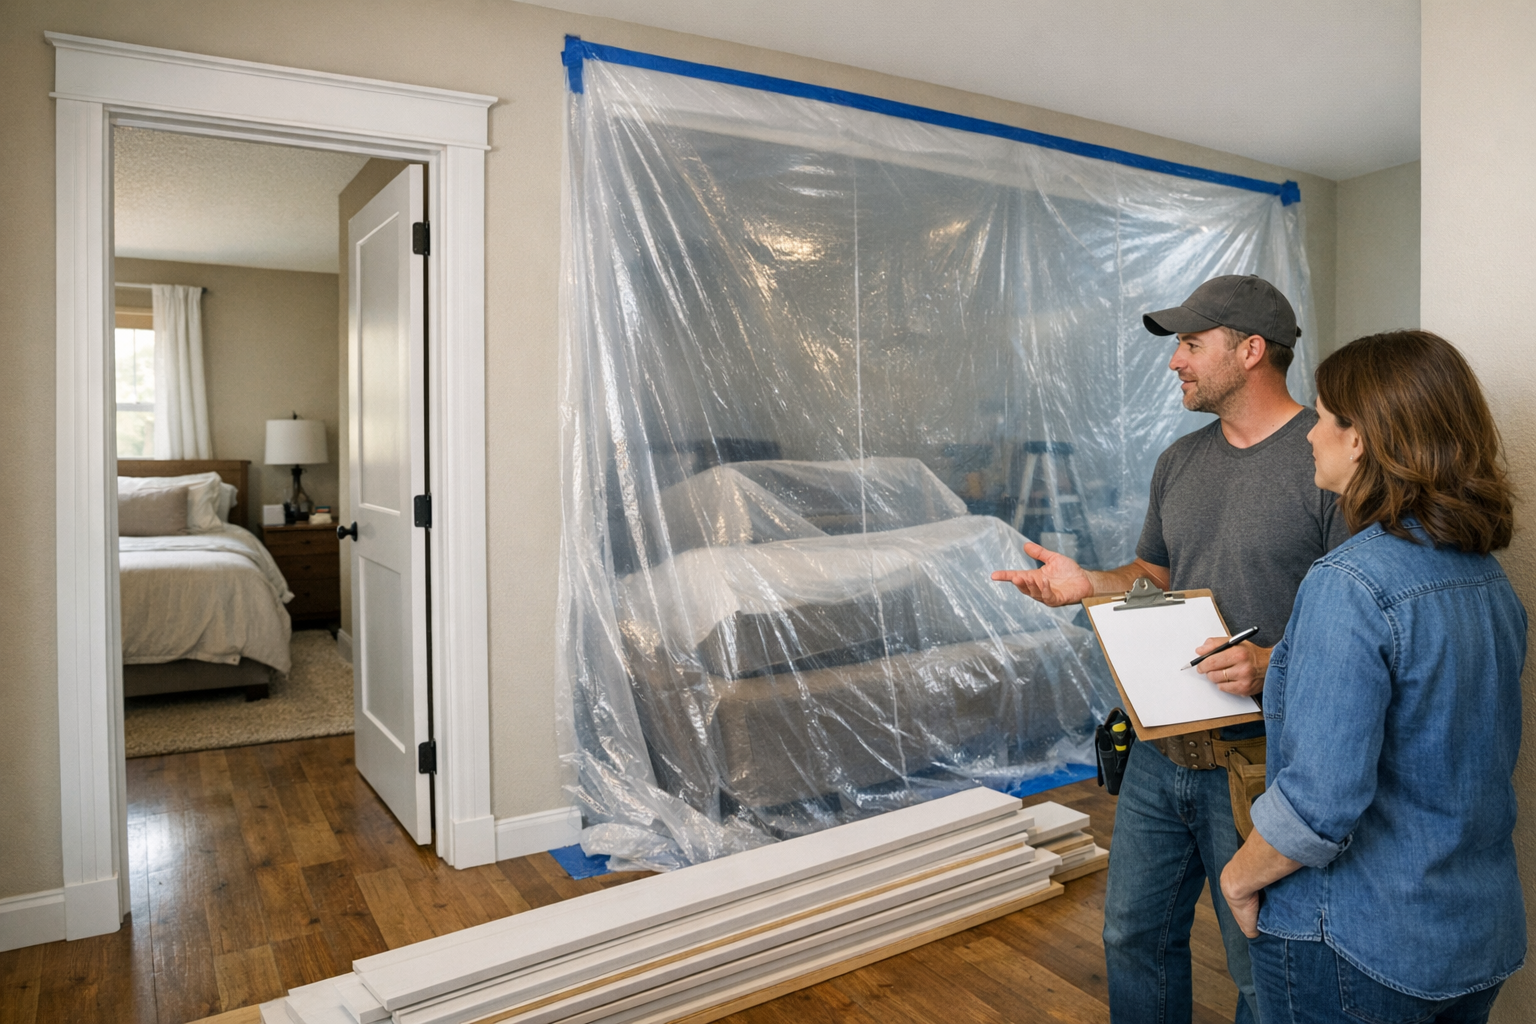
Occupied homes often need a more staged approach. A room may get finished flooring and baseboards while an adjoining hall waits, or a doorway may be left with a temporary clean edge until the next phase catches up. The tradeoff is simple: the home stays more usable, but the trim plan needs clear stop points so transitions do not look accidental later.
Moisture is another Sarasota County remodeling trim variable. Coastal humidity and air-conditioned interiors can affect how some trim materials behave before they are installed, so material storage, acclimation time, and sequencing matter. The practical takeaway is to avoid rushing trim from delivery straight into final installation when the home is still damp from drywall work, floor setting, or other wet trades.
Reused trim can work, but it should earn its way back onto the wall. Look at whether the profile still matches the rest of the house, whether old fastener holes or removal damage will show, whether heavy paint buildup has softened the edges, whether pieces are warped, and whether new floor heights or new doors change the fit. Sometimes saving casing makes sense while replacing baseboards gives a cleaner flooring transition.
Temporary gaps and delayed pieces are not always mistakes. In phased or occupied remodels, it can be smarter to leave a short run of shoe molding, a return piece, or a cabinet-adjacent trim detail for a later pass than to install it before the nearby surface is ready. The key is marking those intentional holds so they become punch-list items, not forgotten loose ends.
Who Coordinates Trim, and What Should Be Left for the Punch List?
The cleanest punch list starts with one person owning the handoffs. That coordinator may be the remodeler, project manager, or finish carpenter, but the job is the same: keep flooring height, cabinet footprint, paint schedule, door and window readiness, trim profile choices, and access dates from becoming separate trade assumptions.
Before trim begins, the big decisions should already be settled. Finished floor height tells the baseboard where to land. Cabinet locations tell the carpenter where base, scribe, toe-kick, and return details should stop or continue. Door and window readiness tells the casing whether it can be installed cleanly. Profile selection tells everyone which trim style is being used, so one room does not accidentally get a different look from the next.
The punch list is different. It is for small finish items that are easier to handle after major installation is complete: touch-up caulk, filled nail holes that need another pass, paint scuffs, small gaps, missing returns, transition pieces, and minor adjustments after doors, cabinets, or built-ins are finalized. A strong punch list is specific and marked by room; a weak one simply says "fix trim" and leaves everyone guessing.
For Sarasota County remodeling trim, especially in slab homes with tile or LVP changes and occupied scheduling, that coordination matters as much as the cutting itself. If you are planning finish carpentry remodel Sarasota work or remodel trim packages Venice FL homeowners can phase cleanly, our role is to help the trim schedule land at the right point, after the key surfaces are ready and before small details turn into rework.
The Right Trim Timing Keeps the Remodel Moving Cleanly
At the trim sign-off, the useful green lights are practical ones: drywall and opening prep are far enough along, finished floor height is known for baseboards, cabinets are set or accurately laid out where trim meets them, and the painter has a clear handoff point for the last coating work.
That sequence still needs room for the actual project in front of you. A Sarasota County remodel with slab floors, tile-to-LVP transitions, coastal humidity, and people living in the home may need trim installed by room or held back in cabinet areas until the nearby surfaces are settled. The point is not to force one universal schedule; it is to avoid installing finish pieces before the surfaces they depend on are ready.
Before paint and final punch work begin, ask your remodeler for the trim scope: the list of baseboards, casing, shoe molding, crown, scribe, returns, and touch-up items that are included in the job. Also ask which pieces wait until after flooring or cabinets, and when the pre paint trim walkthrough will happen. Those three answers make trim installation during remodel work much easier to coordinate and much less likely to turn into last-minute repair work.